Diamond core drilling looks straightforward — drill a circle, remove the slug. In practice, the difference between a clean accurate hole drilled in three minutes and a ruined wall face or a snapped bit comes down to correct setup. This guide covers the process from marking out to removing the slug, including the specifics that most online guides leave out.
How to Use a Core Drill — Key Points
- Always drill a pilot hole first (6–8mm masonry bit, 20–30mm deep) — prevents bit skating
- Set low RPM before starting: 300–500 RPM for 107mm bits; 600–900 RPM for 38–52mm
- Hammer function must be off — diamond core drilling is rotation only, no percussion
- Apply steady pressure and keep the machine perpendicular — angle compounds through wall depth
- Reduce feed pressure as the bit approaches breakthrough to prevent blow-out on the exit face
What Equipment Do You Need for Diamond Core Drilling?
- Core drill machine or SDS drill with adaptor — matched to the bit diameter. See the machine guide for the right motor for your bit size.
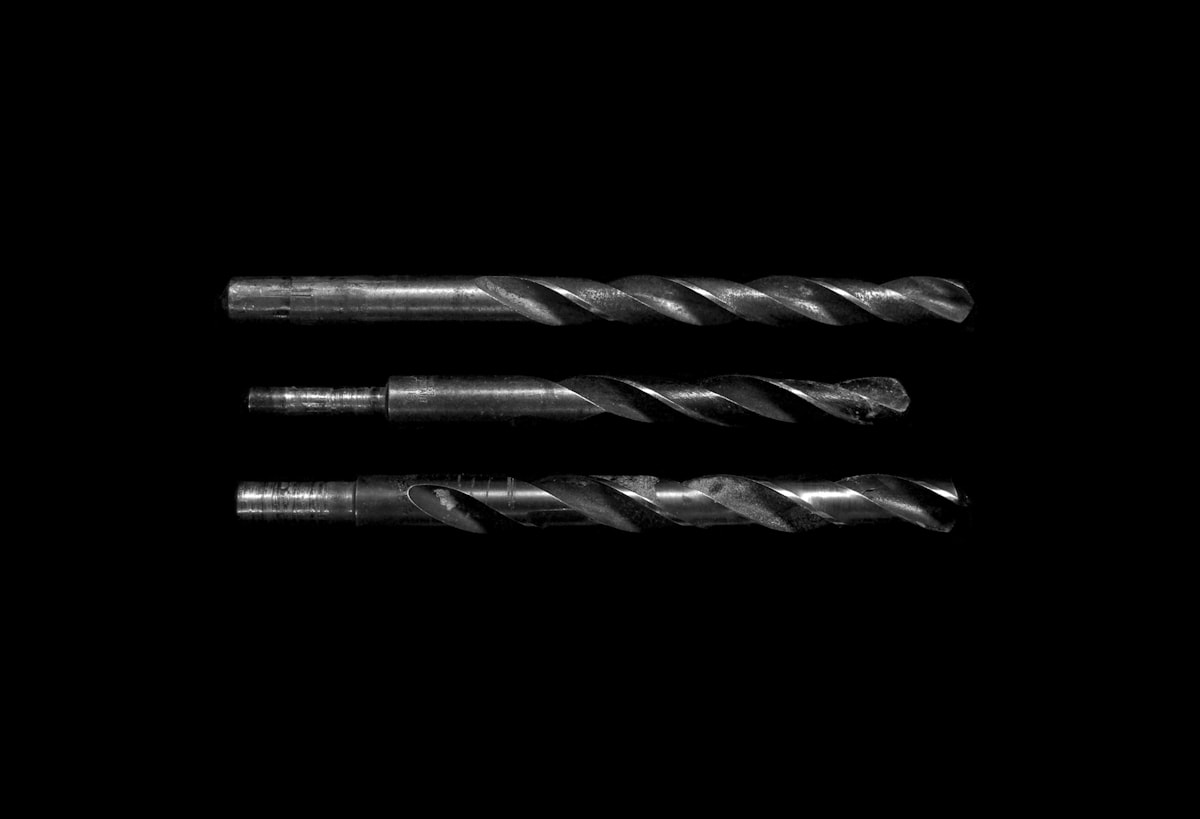
- Diamond core bit — correct size and type (dry for brick/block, wet for concrete). See the bit guide for size selection.
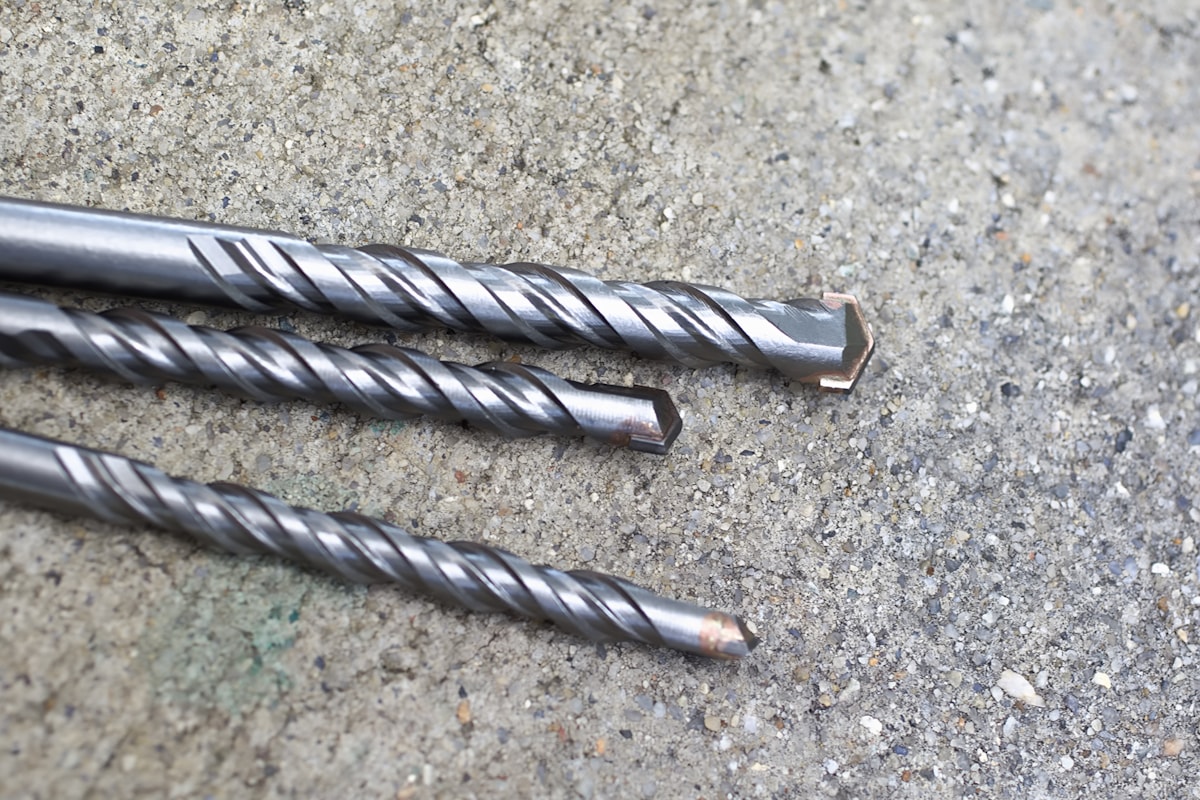
- Pilot drill — matches the centre hole of your core bit barrel. Usually supplied with the bit kit.
- Water supply — for wet coring only. Not needed for dry bits on brick or block.
- Dust extraction — Class M vacuum and shroud for dry coring indoors on concrete or block. Required on CDM-notifiable sites.
- PPE — safety glasses, hearing protection, and dust mask (P3 for silica-generating materials).
Step 1 – Mark the Centre Point
Mark the centre of the hole accurately, not the edge. A core bit's pilot drill locates on a single centre point; the bit cuts a circle around it. Use a pencil cross or punch mark.
Check both sides of the wall before drilling. On cavity walls, the centre point on the inside face must align with your intended exit point on the outside. On a standard 300mm cavity wall, a 1-degree error in drill angle moves the exit point by over 5mm. For boiler flues, the external exit point must clear the DPC, nearby windows, and gas meter by the distances specified in the flue manufacturer's installation guide.
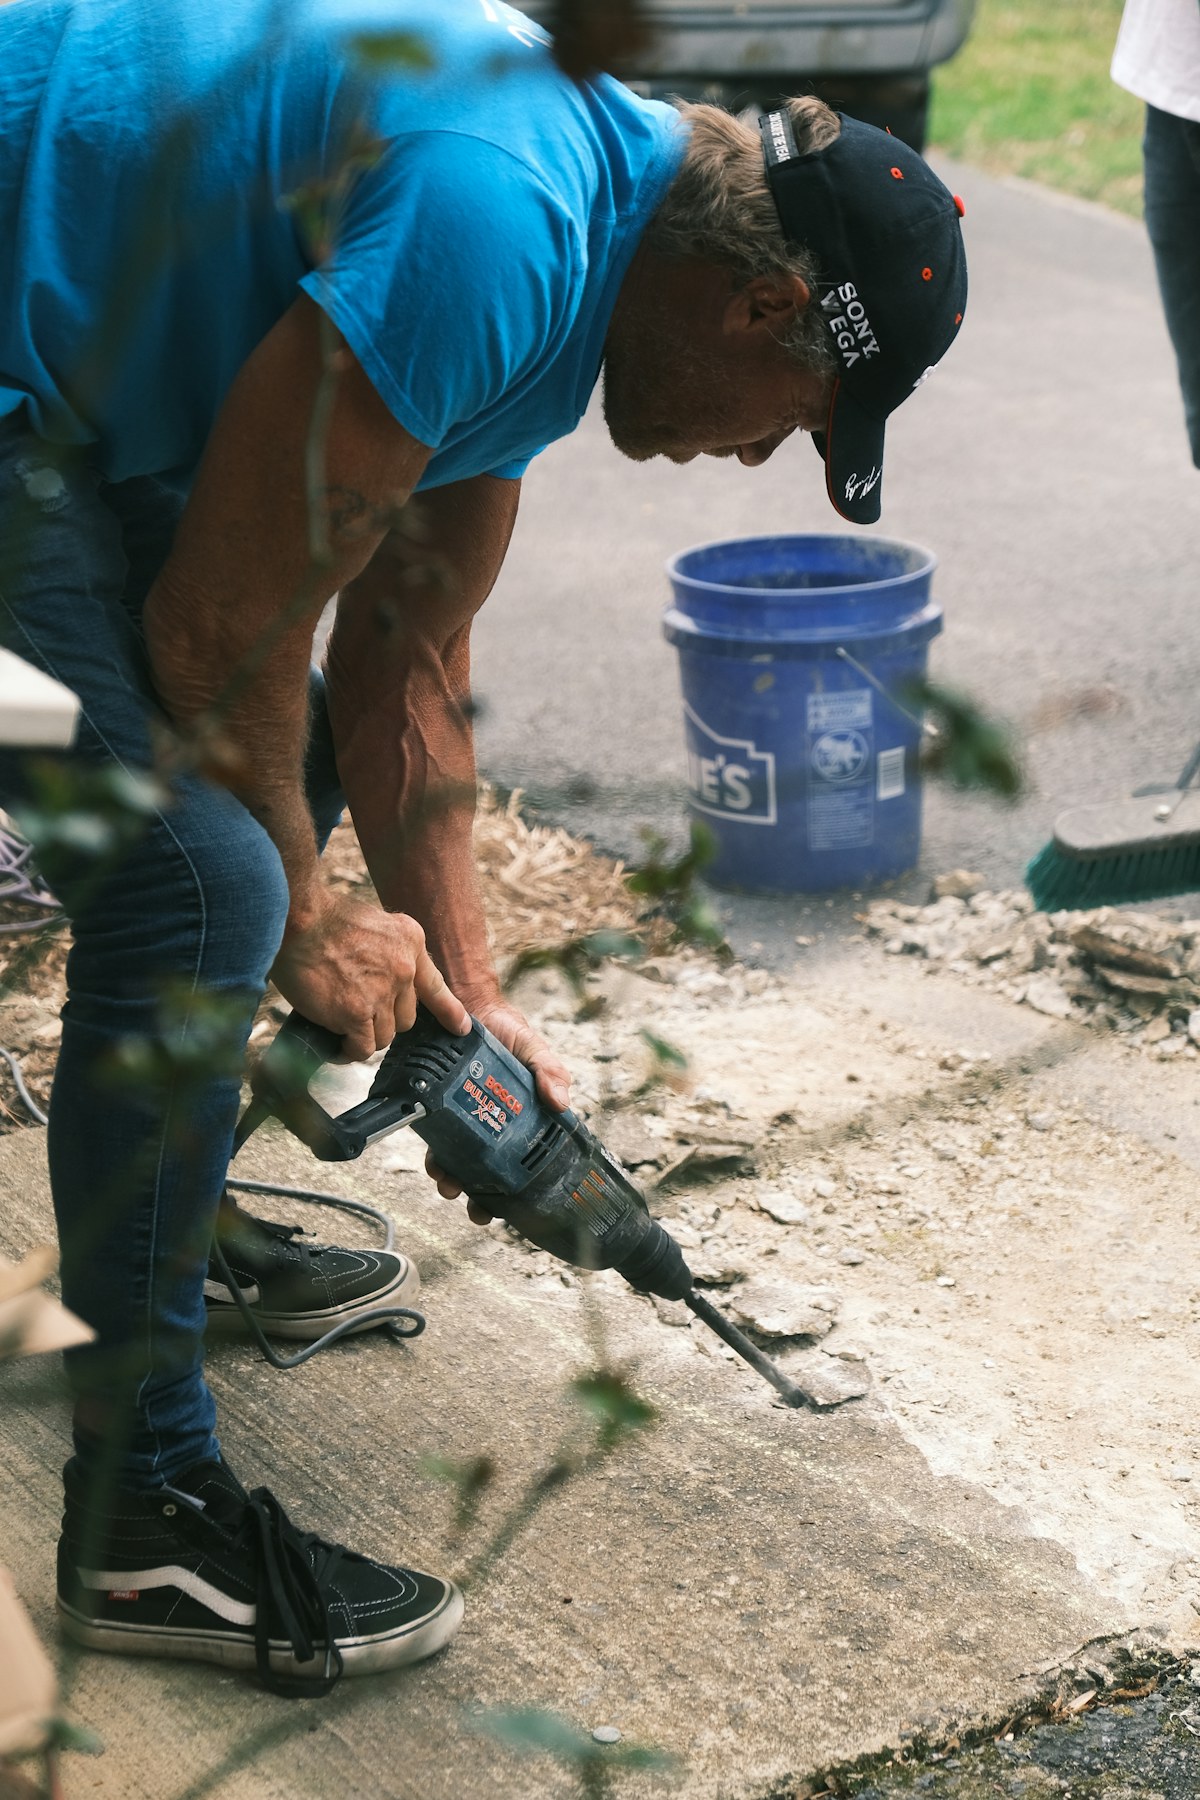
Step 2 – Drill the Pilot Hole
Drill a pilot hole at the centre mark to a depth of 20–30mm using a standard masonry bit — typically 6mm or 8mm. This hole locates the pilot drill (guide pin) that is threaded through the centre of the core barrel. Without the pilot hole, the core bit skates across the face of the wall before the segments engage, damaging the surface finish and producing an oval rather than round entry.
On external brickwork, start from outside where possible. Drilling inwards allows you to monitor the exit point and avoids blow-out on the inner wall surface.
Step 3 – Set the Machine Speed
Diamond core bits run at low RPM — far lower than most drills operate at normally. The correct speed depends on the bit diameter:
| Bit Diameter | Target RPM |
|---|---|
| 38–52mm | 600–900 RPM |
| 65–82mm | 450–700 RPM |
| 107–117mm | 300–500 RPM |
| 127mm+ | 200–400 RPM |
Running too fast overheats the diamond segments, causes glazing, and destroys the bit. If the machine has a single fixed speed, verify it falls within range for your bit diameter before starting. A two-speed machine's low gear is almost always the correct setting for larger core bits.
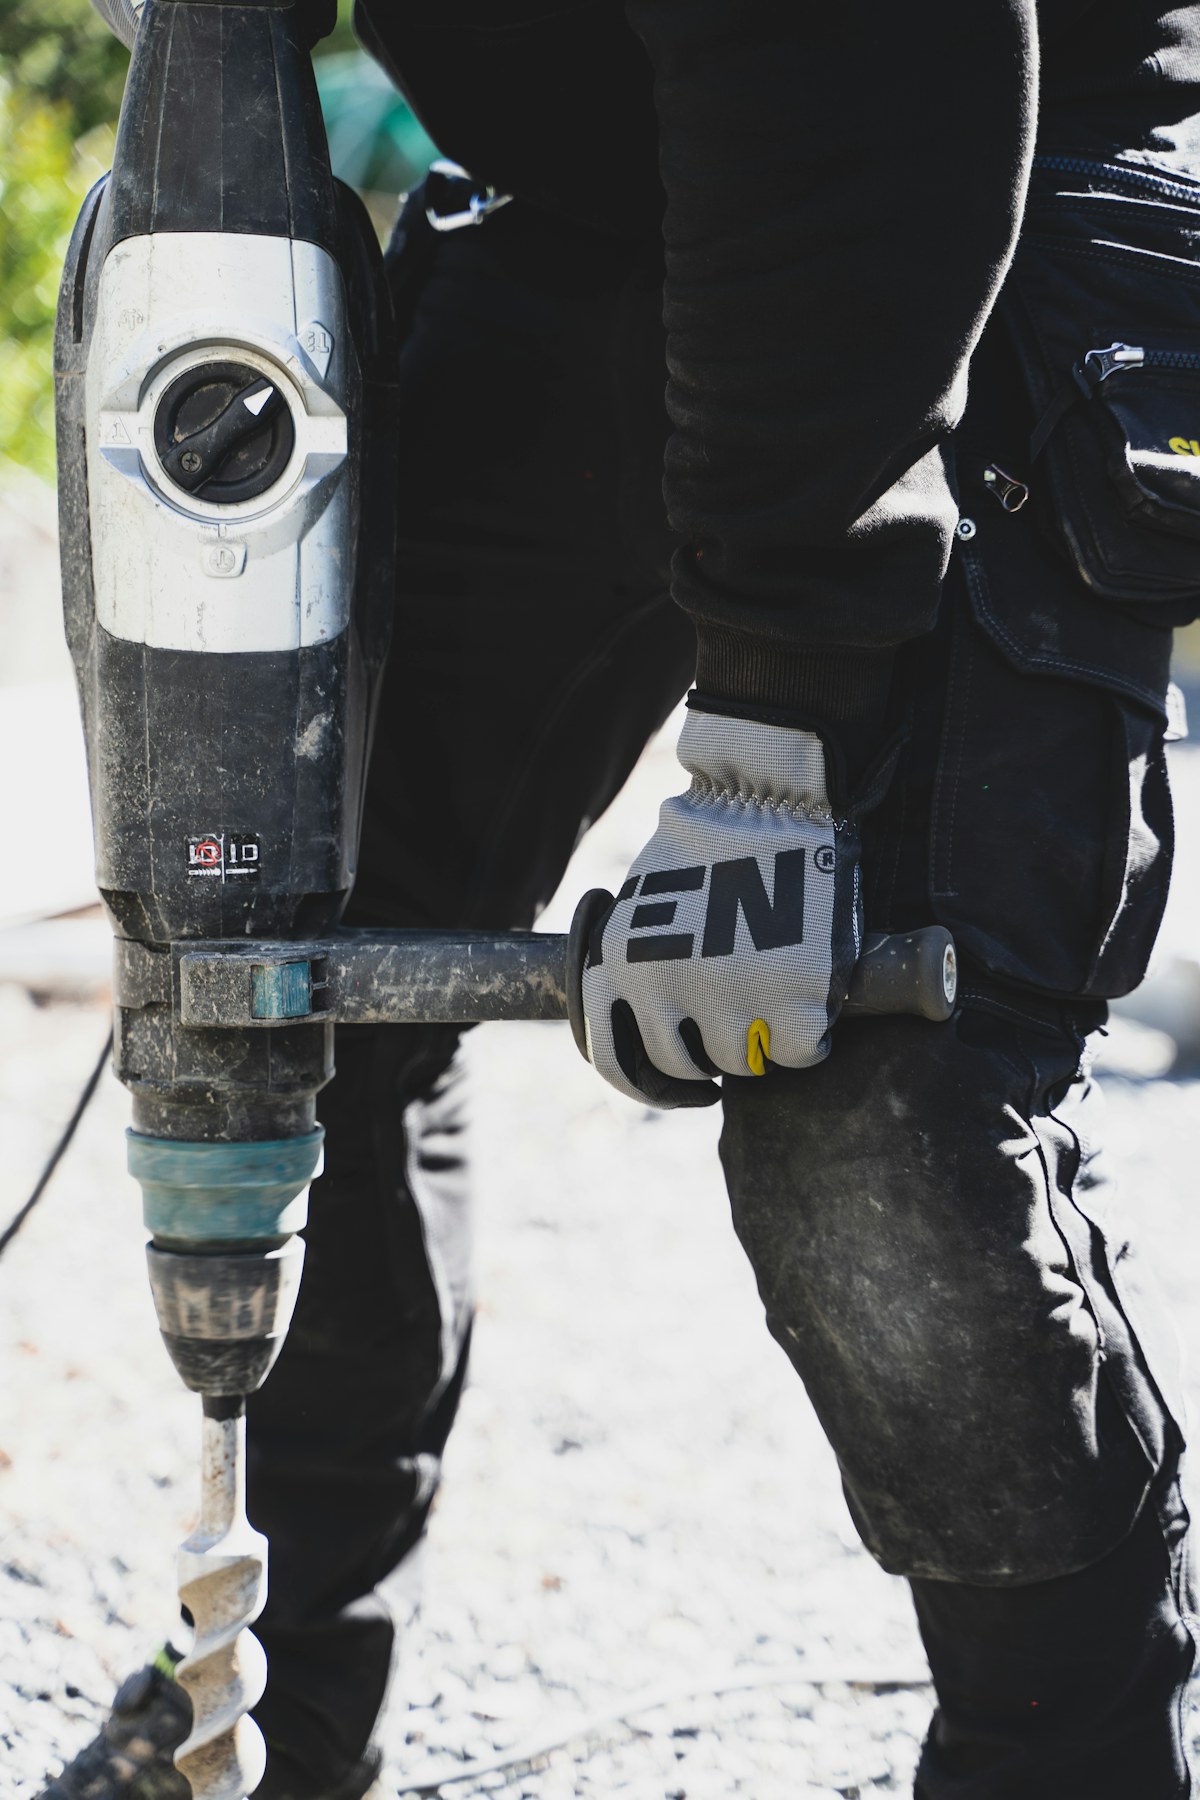
Ensure the hammer function is disabled. Core drilling is rotation-only. Hammer mode on a diamond core bit fractures the segments almost immediately.
Step 4 – Starting the Cut
Insert the pilot drill through the core bit centre and into the pilot hole. Apply firm, steady pressure — not aggressive force. Let the diamond segments do the cutting. The correct cutting feel is smooth resistance; the bit should advance steadily without stalling or vibrating excessively.
Keep the machine perpendicular to the wall face. Any angle produces an oval hole — more problematic on thicker walls where the error compounds through the depth. Use a drill stand or guide if precision is critical, such as for a boiler flue that must align with the terminal position on the external wall.
Step 5 – Cutting Through
Once the pilot drill has gone through, withdraw it if possible — it is no longer needed for guidance. Continue cutting until the core barrel has penetrated the full wall thickness. On a standard 102.5mm brick leaf, this takes 60–120 seconds depending on brick hardness and bit quality.
As the bit approaches breakthrough on the far side, reduce pressure to avoid blow-out. On cavity walls, drilling the inner and outer leaves as separate operations produces the cleanest result — drill from outside until through the outer leaf, clear the cavity, then core the inner leaf from inside.
For wet coring: maintain the water supply throughout. Do not stop the water while the bit is spinning in material — the segments will overheat in seconds.
Step 6 – Removing the Core Slug
The core slug — the circular plug of material drilled out — sits inside the barrel. Withdraw the bit from the wall, then remove the slug by tapping the barrel against a solid surface or using a punch through the centre hole. On hard material the slug can be tightly wedged. Do not attempt to extract it while the bit is still in the wall — it may cause the bit to bind.
Step 7 – Extending Depth (Thick Walls)
For walls deeper than 150mm (the standard bit depth), thread an extension rod between the core barrel and the machine chuck. Extension rods come in 300mm and 500mm lengths. For walls in the 150–300mm range, one 300mm rod is sufficient. Maintain alignment carefully — the additional length introduces flex that can cause the hole to wander on harder materials.
Troubleshooting: Why Has the Bit Stopped Cutting?
The diamond segments have glazed: the steel bond matrix has hardened and the diamonds are buried below the surface rather than cutting. The symptom is a bit that spins freely with a high-pitched tone, generating heat but making no forward progress.
Redress the bit: make 3–4 passes through a soft abrasive material such as sand-lime brick or breeze block. This wears away the hardened matrix and re-exposes fresh diamond crystals. The bit should then cut normally again.
If the bit stalls and the machine torque kicks suddenly — stop immediately. The bit has bound in the material, usually due to over-pressure or running at too high a speed in hard material. Release the bit before trying to restart, and reduce feed pressure.